-
Swiftdrain
6” wide pre sloped trench drain
-
Swiftdrain
6” wide pre sloped trench drain
-
Swiftdrain
6” wide pre sloped trench drain
-
Swiftdrain
6” wide pre sloped trench drain
6” wide pre sloped trench drain
6” wide pre sloped trench drain
6” wide pre sloped trench drain
6” wide pre sloped trench drain
Already have an account?
Continue with email
New user?
Do you already have an account?
Enter the email address associated with your account to receive a link to reset your password
If that email address is in our system, you will receive an email with instructions about how to reset your password in a few minutes.
Swiftdrain
6″ wide pre sloped trench drain
Swiftdrain
6″ wide pre sloped trench drain
Swiftdrain
6″ wide pre sloped trench drain
Swiftdrain
6″ wide pre sloped trench drain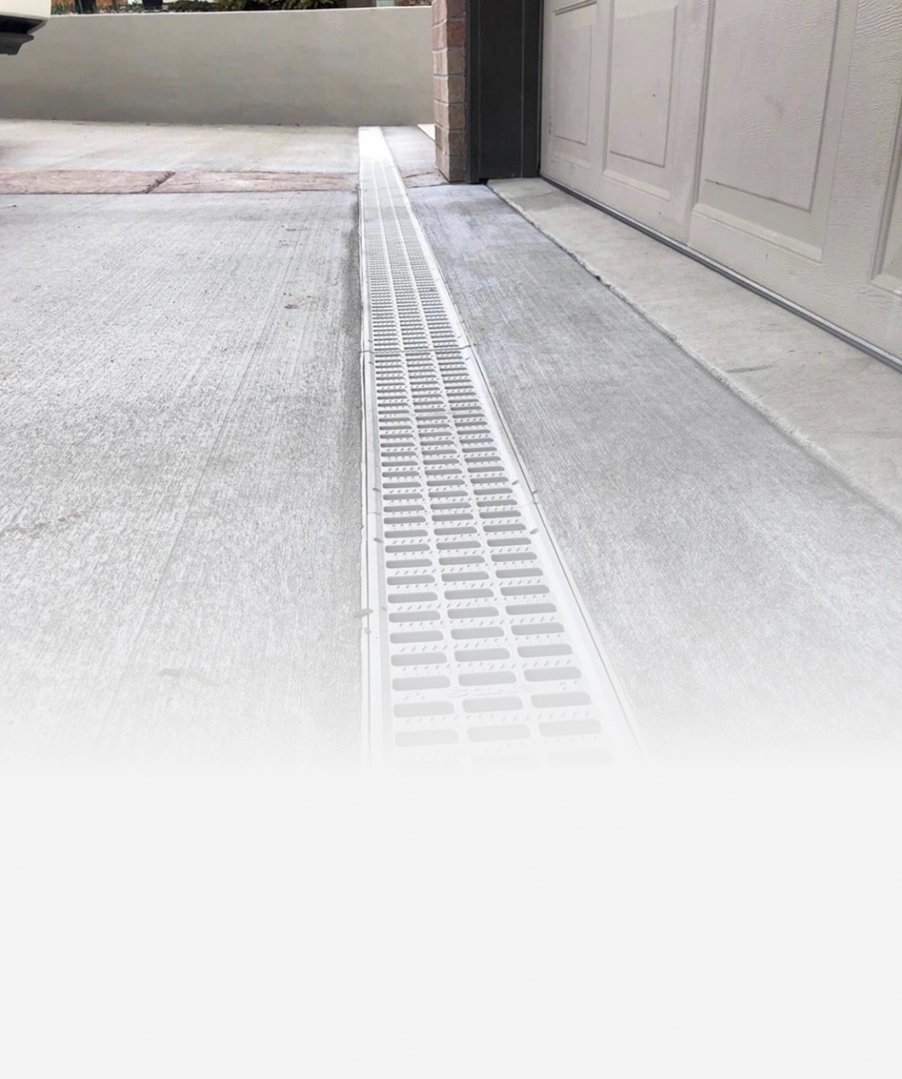
Trench Drain Installation Guide: HDPE and Concrete Systems

HDPE and Concrete Systems Installing a trench drain system can seem intimidating, but with the right tools, materials, andknowledge, it becomes straightforward. At Swiftdrain, we’re committed to making yourinstallationprocess seamless and hassle-free. Whether you're working with HDPE (high-densitypolyethylene), fiber-reinforced concrete (FRC), or polymer concrete, our comprehensive guideensures that you have everything you need to achieve a professional-grade installation. Below,we’ll walk you through the steps for installing HDPE trench drains and concrete systems
Trench drain installations vary based on the expected load. Ensuring proper excavationdimensionsis critical for system durability and performance. Refer to the table below forminimum dimensions based on load class.

For pedestrian traffic, a channel recess of1/8 inchis recommended, while for vehicular traffic, arecess of1/4 inchshould be observed.
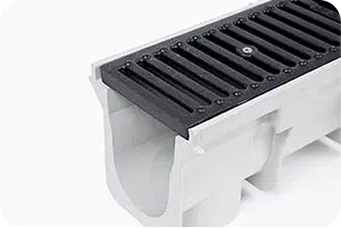
HDPE trench drains are lightweight, versatile, andideal for various applications. Follow thesedetailed steps for proper installation:
Gather necessary materials: HDPE trench drain channels, sealant, caulking gun, level,vibrator, shovel, string line, and rebar. Ensure the channelshave flow direction arrowsmarked.
Dig the trench according to the load class requirements, ensuring correct slope and depth
Arrange the HDPE trench drain channels beside the trench, starting at the deepestpoint (the outlet).
Install expansion joints as per the project plan, both parallel and perpendicular tothe channel.
Set a string line to the final elevation of the trench drain system. For ductile iron frames, set the line1 inch below the finished grade.
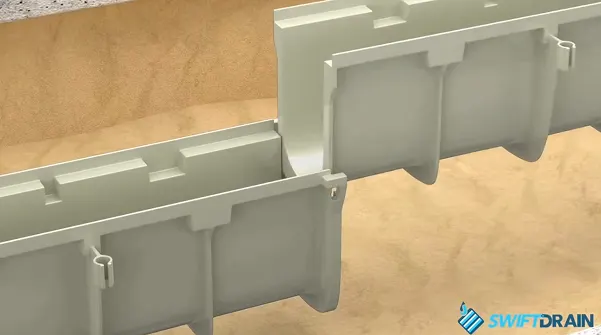
Snap channel sections together, starting at the deepest point.
Secure the channels with blank grate inserts and screws to ensure alignment. oInsert rebar into the designated slots and drive them into the ground for stability.
Set a string line to the final elevation of the trench drain system. For ductile iron frames, set the line1 inch below the finished grade.
Snap channel sections together, starting at the deepest point.
Secure the channels with blank grate inserts and screws to ensure alignment. oInsert rebar into the designated slots and drive them into the ground for stability.
Unlike HDPE systems, FRC and polymer concrete require careful handling due to their rigidity.These materials are more robust but prone to damage if mishandled
Use protective gear while cutting or grinding to prevent inhalation of dust.
Ensure the workspace is clear of flammable materials when using cutting toolslike diamond disc saws or band saws
Follow the same excavation guidelines as for HDPE systems, maintaining a correct slopeand compacted trench bottom.
On-site adjustments may require cutting for miters, tee junctions, and odd lengths.
Use appropriate saws and ensure precise cuts for a seamless fit.
Channels can be positioned using one of three methods.
Place small concrete "patties" to hold the channel in place
Suspend channels with brackets or wires
Use specialized devices for accurate placement.
Protect the channels with plywood to prevent concrete ingress.
Use concrete with a compressive strength of 4000 psi.
Pour evenly on both sides, using a vibrator to prevent voids.
Remove protective plywood after 24 hours.
Install grates and apply flexible sealant at expansion joints to prevent cracking.

At Swiftdrain, we specialize in trench drain systems tailored to meet your needs. Our solutions are engineered for efficiency, durability, and ease ofinstallation. Whether you're a contractor ora first-time installer, our systems and guides ensure success every step of the way
